

Auto messages
Auto messages open the widget with a message when a visitor lands on a page you choose, for example an offer on your pricing page. They are managed on the Auto Message tab of your widget’s settings (open your robot → Service → the gear icon on your widget’s card).
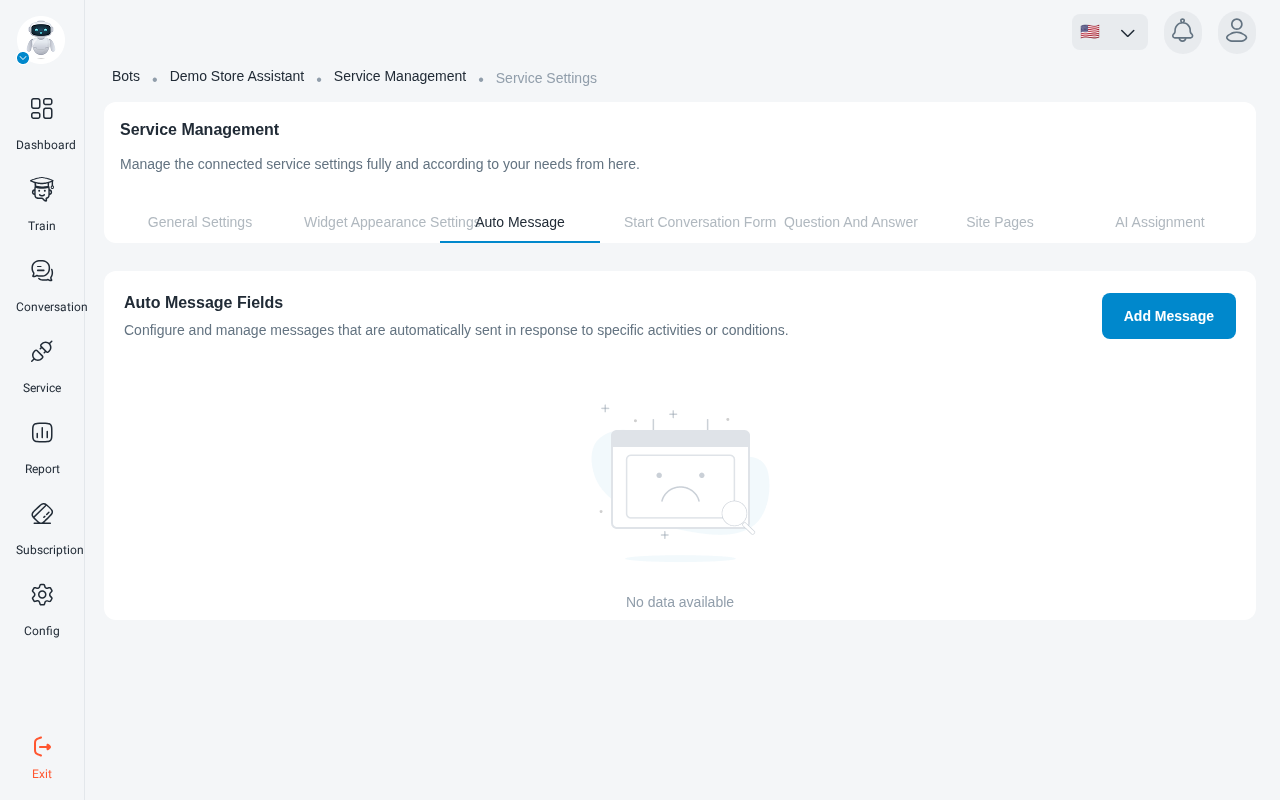
Add a message
Choose how the address is matched
Under Page Display Options:
- Equals to: only that exact address.
- Contains: every page whose address contains the text.
To show the message across a whole section of your site, choose Contains.
Manage your messages
Saved messages are listed in a table with the message text, Delay, Display Count and page address.
To remove one, click Delete and confirm in the Delete Auto Message dialog.
Deleting an auto message cannot be undone.